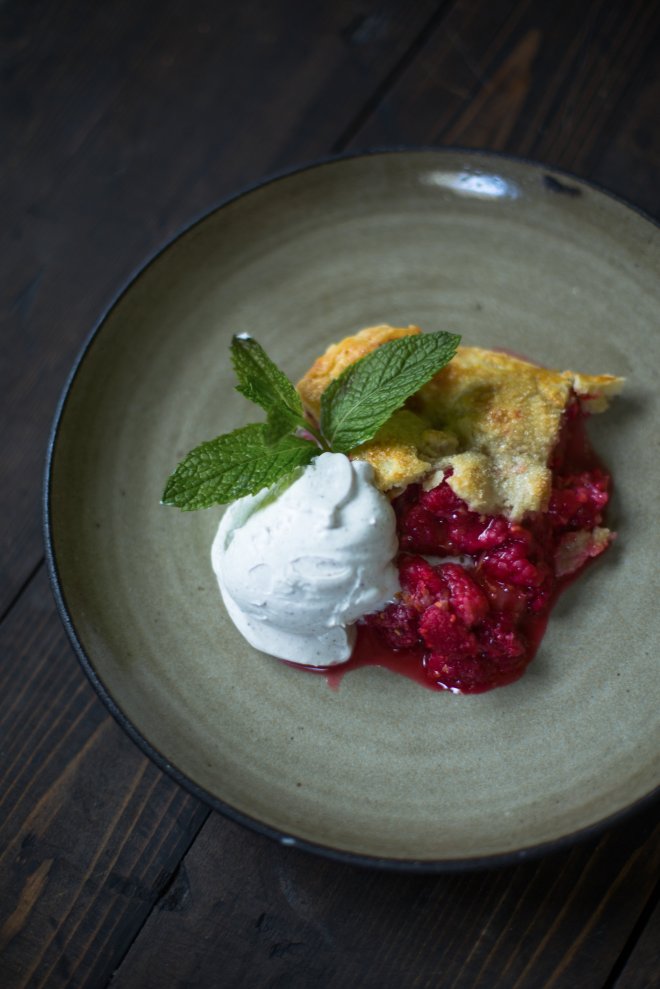
Raspberry Galette
Well, summer's here!
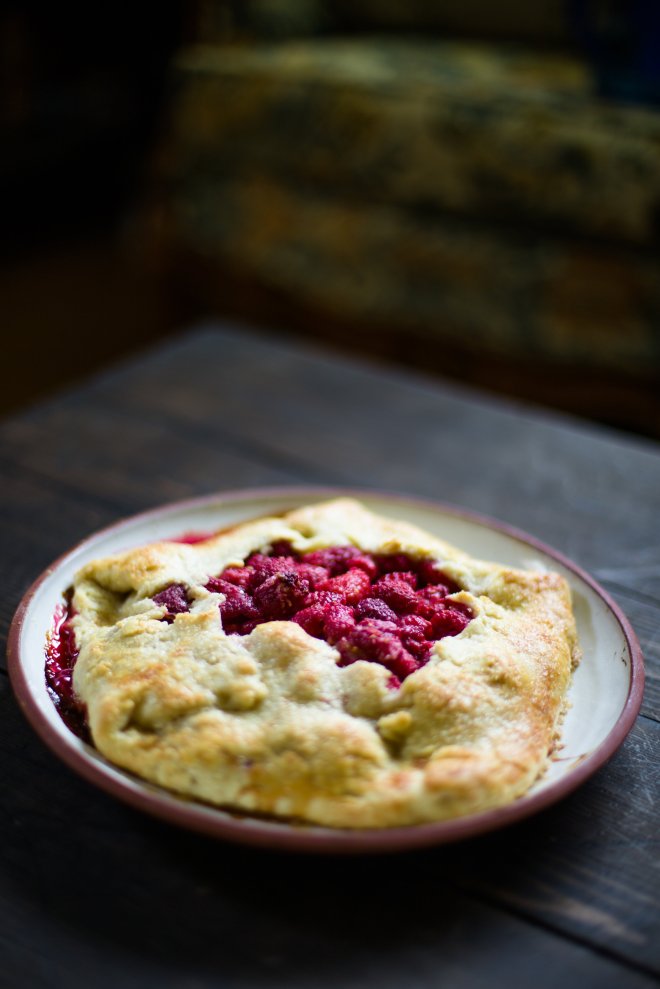
What better way to celebrate that than a morning in the sun picking berries with two people you love?! Then biting into the buttery delicious crust of a fresh raspberry galette? Fresh raspberries, lemon & sugar is all this simple delicacy requires. A galette is also known as a crostata -essentially it's a mini pie, but free formed. There's no pie pan, it can bake on a cookie sheet! Or if you happen to have some oven safe dishes (if you don't head on over to my Etsy shop!) you can bake it & serve it on the same plate!
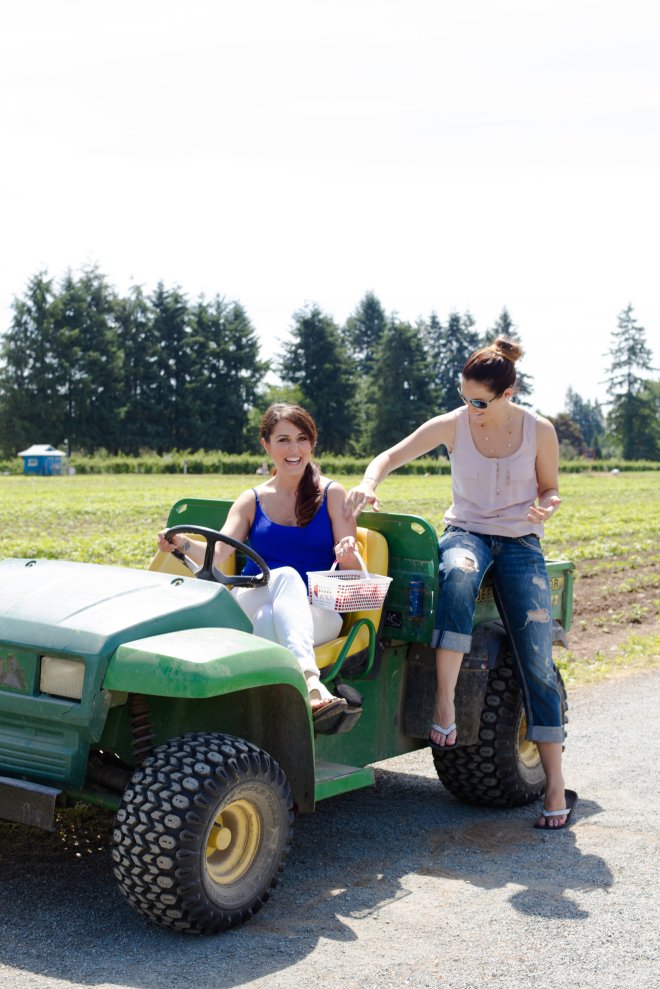
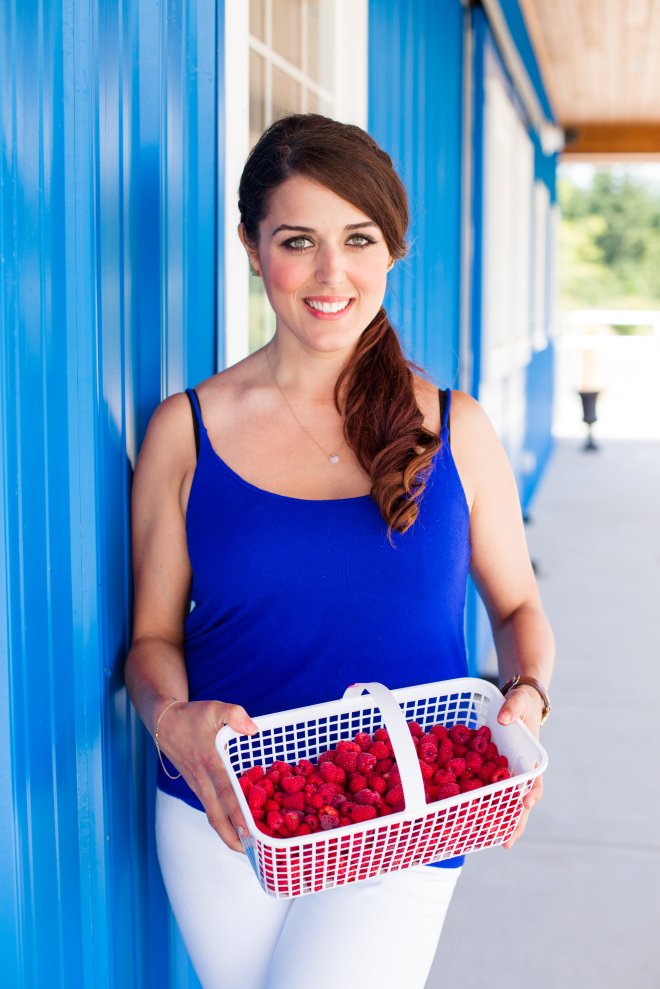
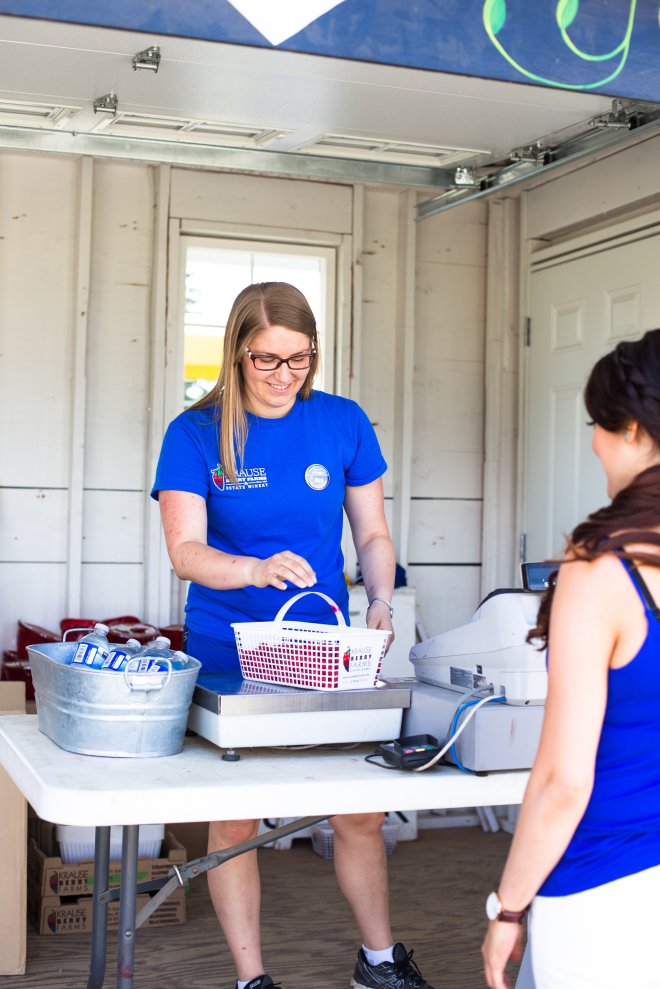
Hannah, Leah & I made our way to Krausse Berry Farms to get our fill of freshly picked BC Raspberries. If you've never been, you should definitely go. They have a market with doughnuts, cakes, muffins & you name it! They also have a little cafe where you can get a HUGE slice of berry custard pie I promise you'll never finish yourself. It's definitely an experience, though I do suggest going early in the morning before the crowds and mid day heat.
Disclaimer- Krausse Berry Farm does NOT support you sitting on their equipment! ...You will get in trouble.
Back at home, several lemon waters down I get to business. Measure out your flour, salt, & sugar. Toss it all around with a fork to incorporate evenly. There's something you should know about me -I'm a little old school. I like wooden spoons. I remember when I was younger INSISTING on using my muscles over an electric mixer. That being said, there are two ways of cutting in your fat (unless you use a food processor or stand mixer.) You can either use a pastry cutter -which I prefer- or the REALLY old school way: your fingers. Pinch off pieces of the butter and shortening into pea sized clumps. It really is a romantic and time consuming way to do it. I've tried both and I don't really notice a difference in the texture of the dough.
Whichever way you do it, you want your fat to be COLD. So work fast. To make it easier I usually slice up the butter to make it manageable. Essentially what you're doing is creating layers of fat in the flour. Like when you wedge clay, you want all the platelets to be lined up in the same direction so it's easier to throw.
Then scoop into 6 tablespoons of ice water into the bowl. Give it a toss around, pressing the dough to itself. If it seems loose and not sticking that much, add more water. It depends on the weather and how compact your flour is. Sometimes I use 7 tablespoons, the other day I had to use 9. Try not to use too much or your dough will be a soggy mess.
This recipe makes two shells, a top and a bottom or two galettes. I halve the recipe and then wrap the dough in saran wrap and freeze. Never EVER buy store bought dough again. This recipe is SO EASY. Why not quadruple it and keep it for when you need it?! When you want to use it, put it in the fridge the night before or at least a couple hours. If you haven't frozen the dough, let it chill in the fridge for at least an hour.
Flour your counter top, lay the dough down and flour the top. Use a marble rolling pin if you can. The marble stays cooler, which helps keep your layers nice. The last thing you want to do is ruin all your hard work and melt the fat.
Rinse your berries. Let them dry for a few minutes. It's a good idea to do this before you roll out your dough so that they're dry when you need them. You can also very delicately pat them dry with paper towel. The idea behind using fresh berries is not only flavour, but it also allows them to retain their shape better than frozen.
In a bowl, sprinkle your sugar and flour over the berries. With your hands fold it in. I suggest using your hands so you don't break up the fragile raspberries. Grate half a lemon for it's zest, if you're making a pie I'd use the whole lemon. Add the juice and toss again.
Holding your rolling pin ABOVE the dough, very carefully lift the edge of the dough onto it to transfer it to your baking surface. I used my earthenware plates I designed for Uli's Restaurant. They're oven, microwave & dishwasher safe. From oven to table.
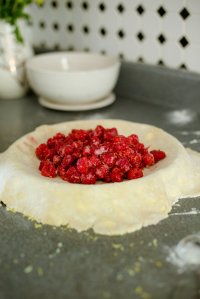
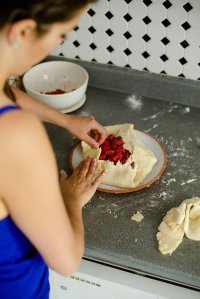
Pile the raspberry mixture into the middle, leaving about an inch and a half all the way around. Fold the dough back over the berries. You can do big folds, or little folds. Totally up to your discretion.
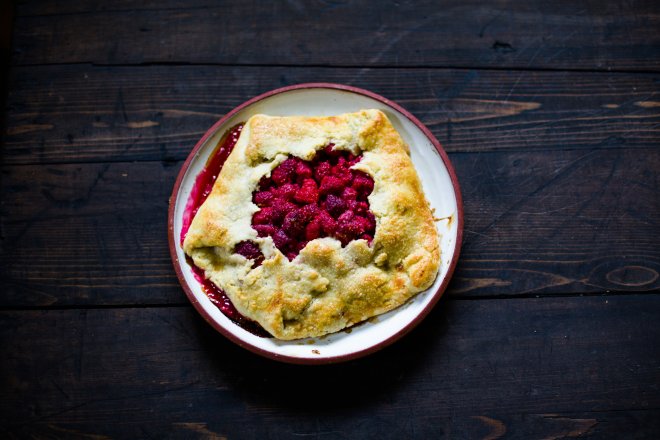
Crack an egg and separate the yolk. When glazing in baking use the white for a translucent shine, and the yolk when you want it golden. Here we are using granulated sugar on top so brush the egg white onto the edges of the dough. Sprinkle with sugar. Bake for 30-45 minutes or until golden. Let sit for 5-10 minutes so the juices can set up. Serve & enjoy!
Tip- serve with Coconut Whipped Cream. 
Photos by Hannah Cummins Photgraphy


